14 Halloween Pumpkin Carving Ideas for Home Decor (2026)
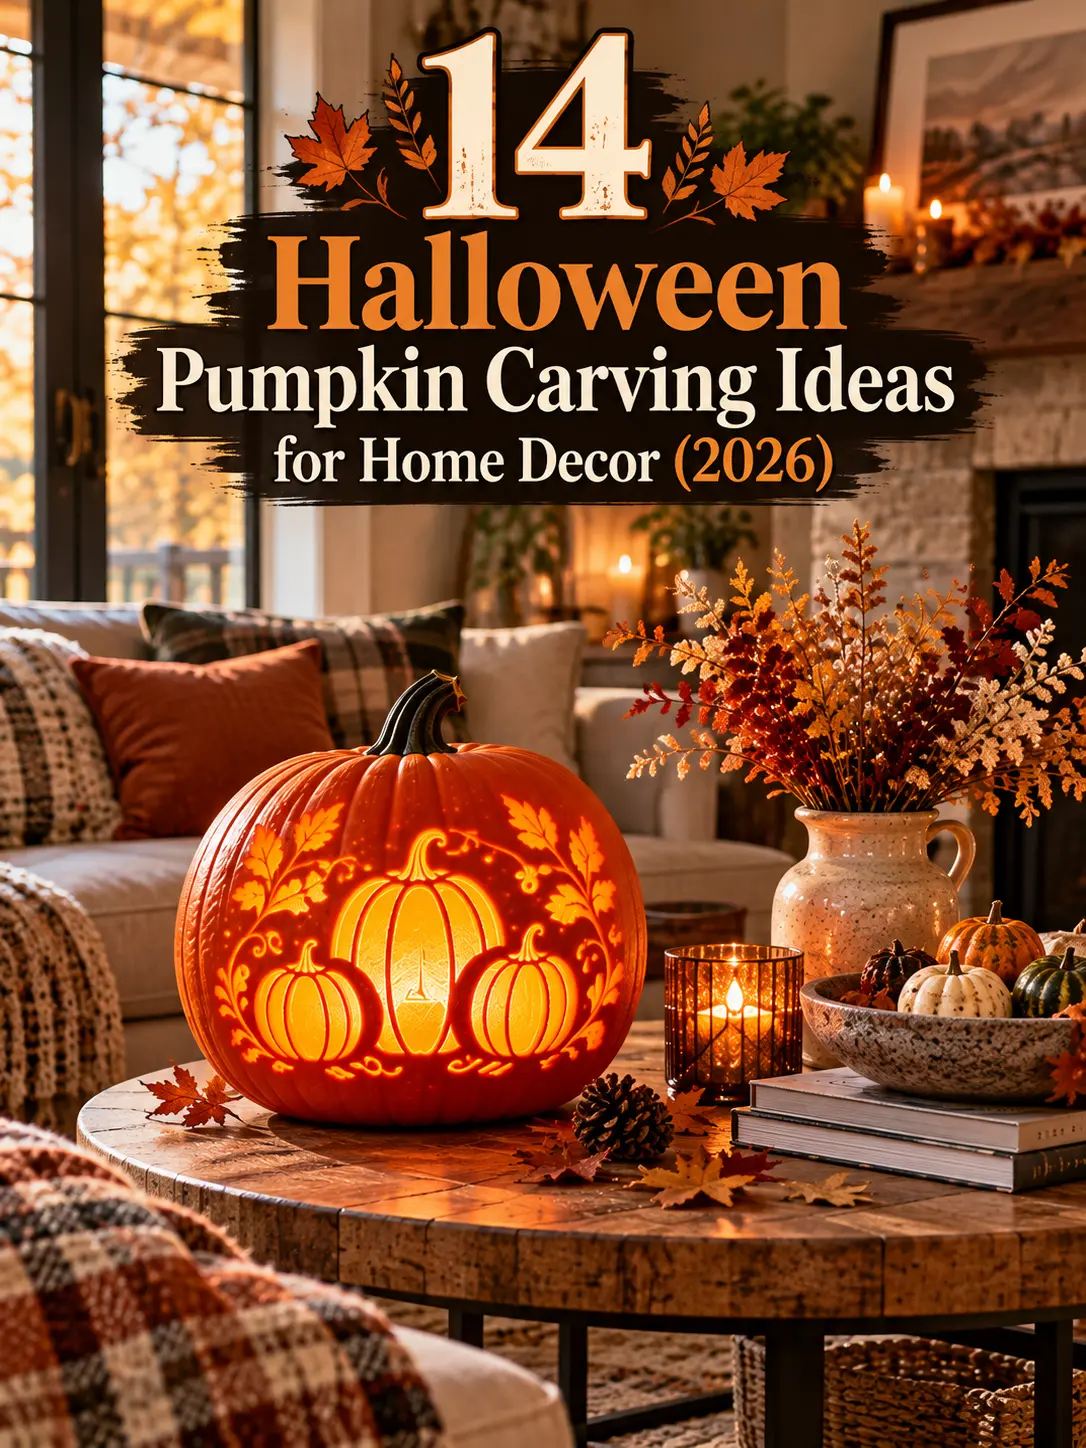 Save to Pinterest
Looking for Halloween pumpkin carving ideas that feel at home with your furniture rather than like last-minute party props? The most memorable carved pumpkins combine a clear design, safe lighting, and thoughtful placement. Whether you have a narrow apartment ledge, a family entryway, or a covered porch, these 14 approachable projects bring character to your seasonal decorating without requiring elaborate tools or an oversized budget.
Choose a firm pumpkin with an intact stem, sketch before cutting, and use a battery-powered LED instead of a flame. The ideas below range from classic faces to modern botanical patterns, with practical advice for displaying each one indoors or in sheltered outdoor spaces.
1. Halloween Pumpkin Carving Ideas: Classic Grinning Jack-o’-Lantern
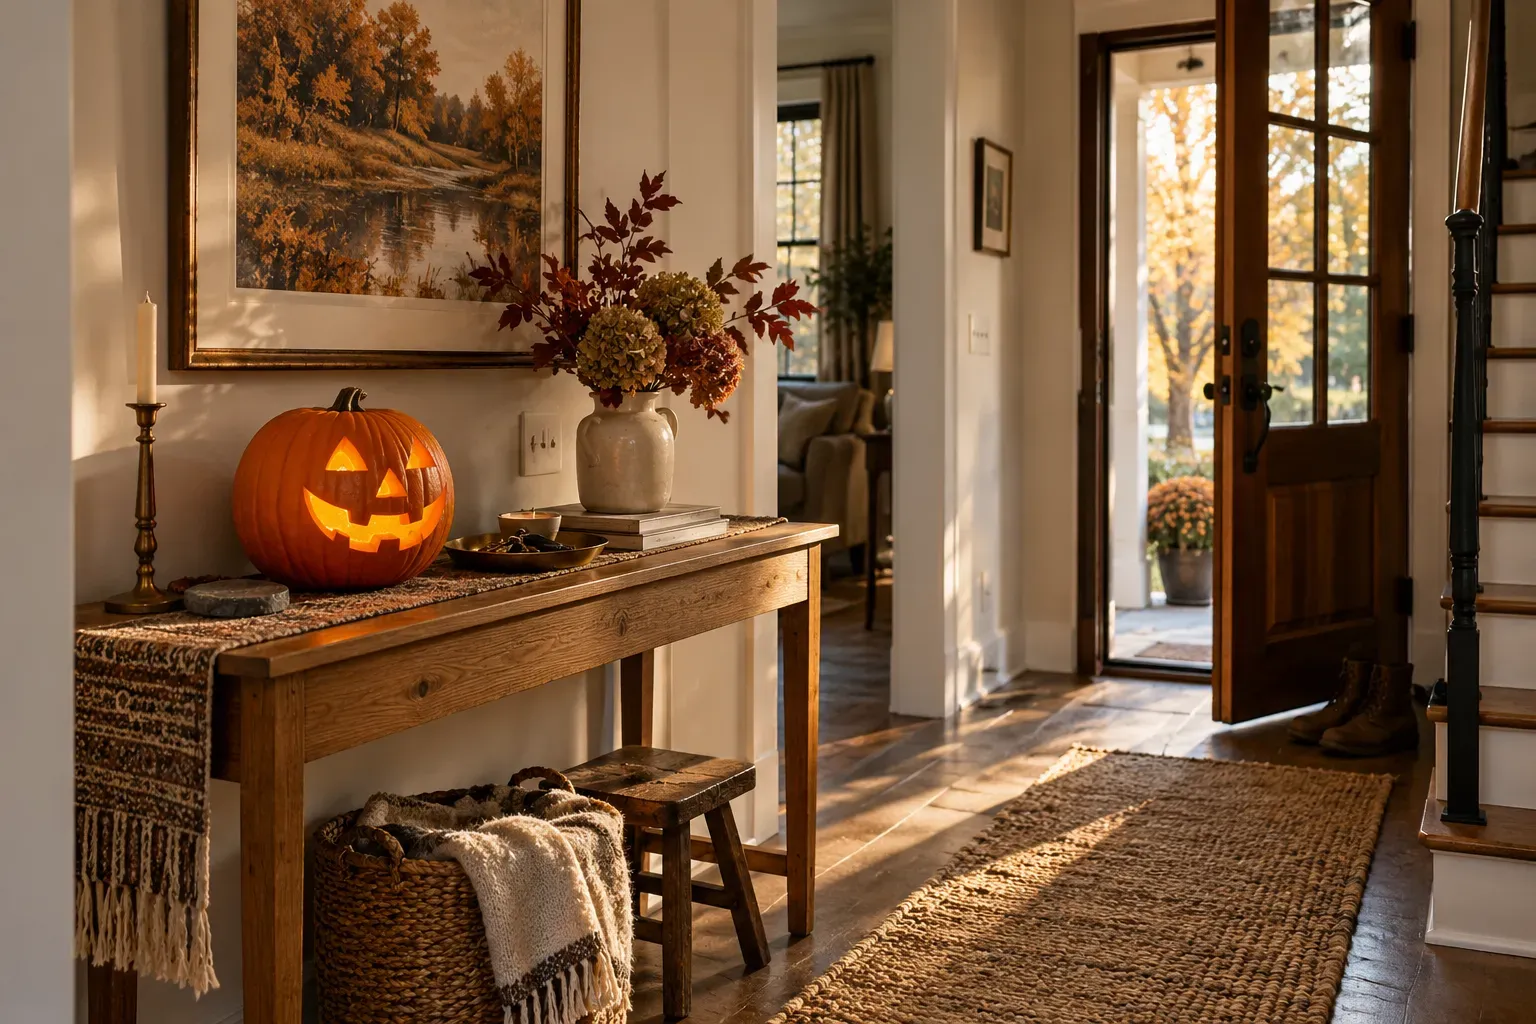
Carve a familiar wide grin with generous triangular eyes for a welcoming front-door pumpkin display. Sketch the expression on paper first, then transfer it with a washable marker. Keep the mouth bridges thick enough to survive lifting and moving. A battery-powered candle makes the face glow without an exposed flame.
Set the pumpkin on a washable tray beside your entryway console, leaving room for keys and bags. One large carved jack-o’-lantern often looks more intentional than several crowded together. If children help, let them draw the face while an adult handles cutting tools. Wipe away loose pulp before photographing the finished design.
2. Tiny Star-Cut Pumpkin Lanterns
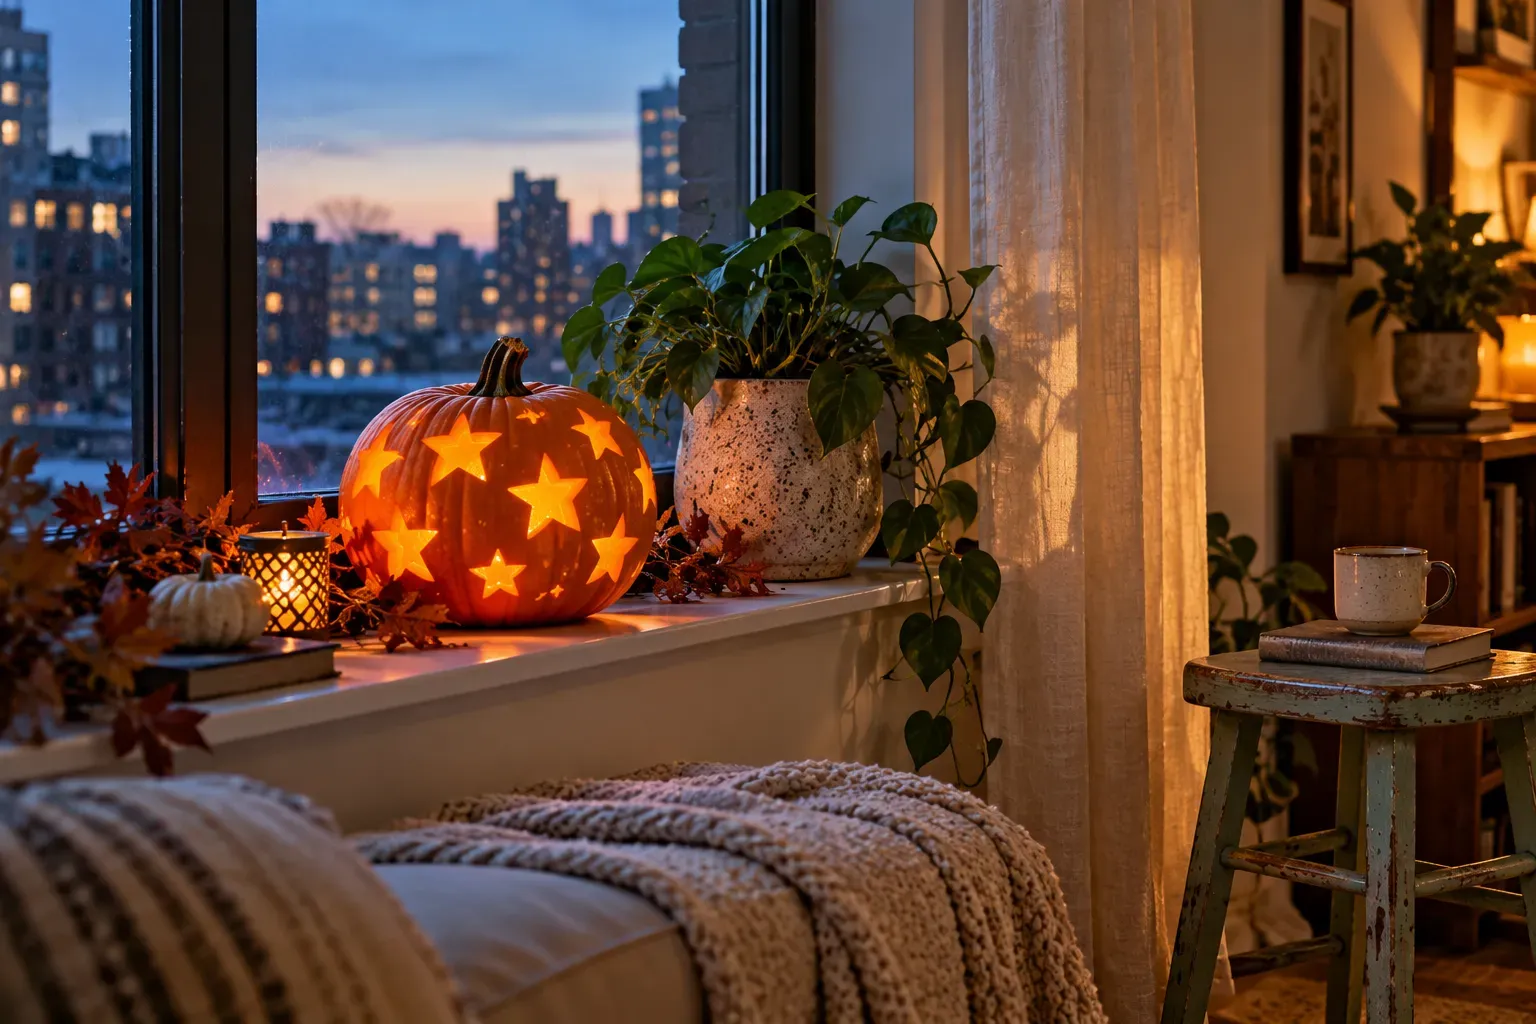
Turn smaller pumpkins into a constellation by cutting several simple star-cut pumpkin lanterns or drilling holes in varied sizes. Mark the pattern while the pumpkin is dry, and space openings far enough apart to preserve the shell. This understated pumpkin carving design suits apartments where a giant jack-o’-lantern would overwhelm the room.
Arrange three lanterns at different heights on a sturdy window ledge or nearby stool. Use flameless LED lights, especially close to curtains, and check that the pumpkins cannot roll. Star shapes cast gentle points of light after dusk; a few scattered openings feel calmer than covering every inch with holes.
3. Botanical Leaf Silhouette Carving
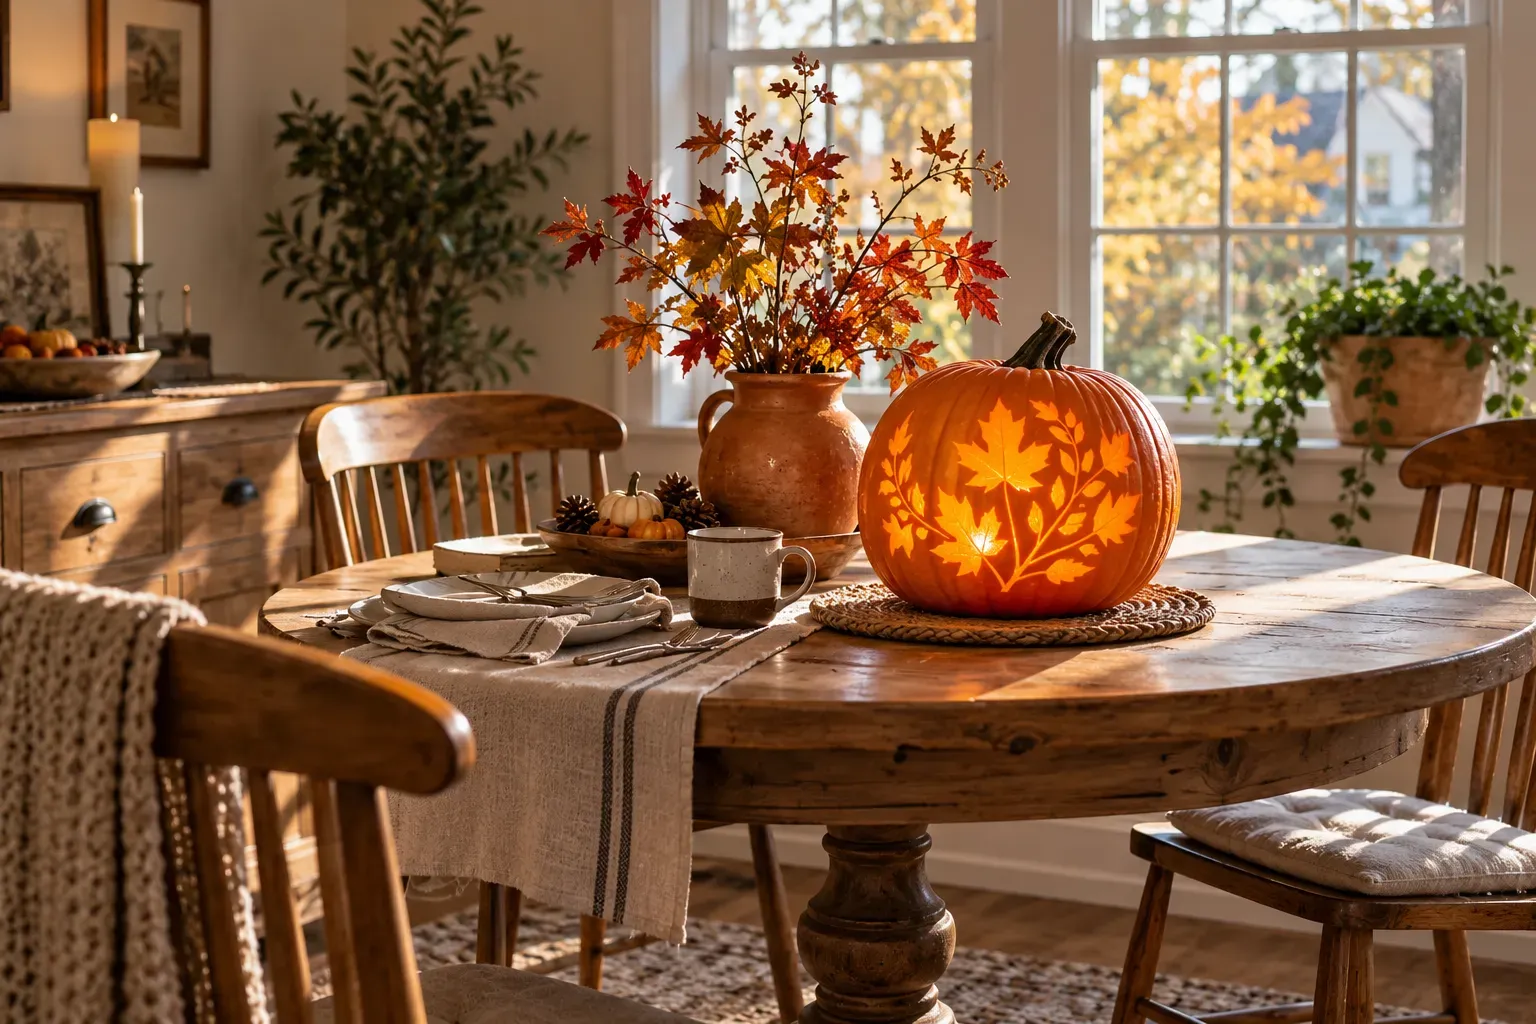
Trace oak, maple, or fern leaves onto a pumpkin for an autumn pumpkin carving that feels more like seasonal decor than a spooky prop. Choose leaves with recognizable outlines, then carve the silhouettes or remove only the outer skin for a softer glow. Start with one large leaf before adding smaller details.
Display the pumpkin on a dining table with natural foliage and simple linens. Avoid tiny leaf veins that may collapse as the pumpkin softens. A shallow scraping tool helps create different light levels without cutting all the way through. This approach pairs particularly well with wood furniture and warm neutral rooms.
4. Crescent Moon and Night Sky
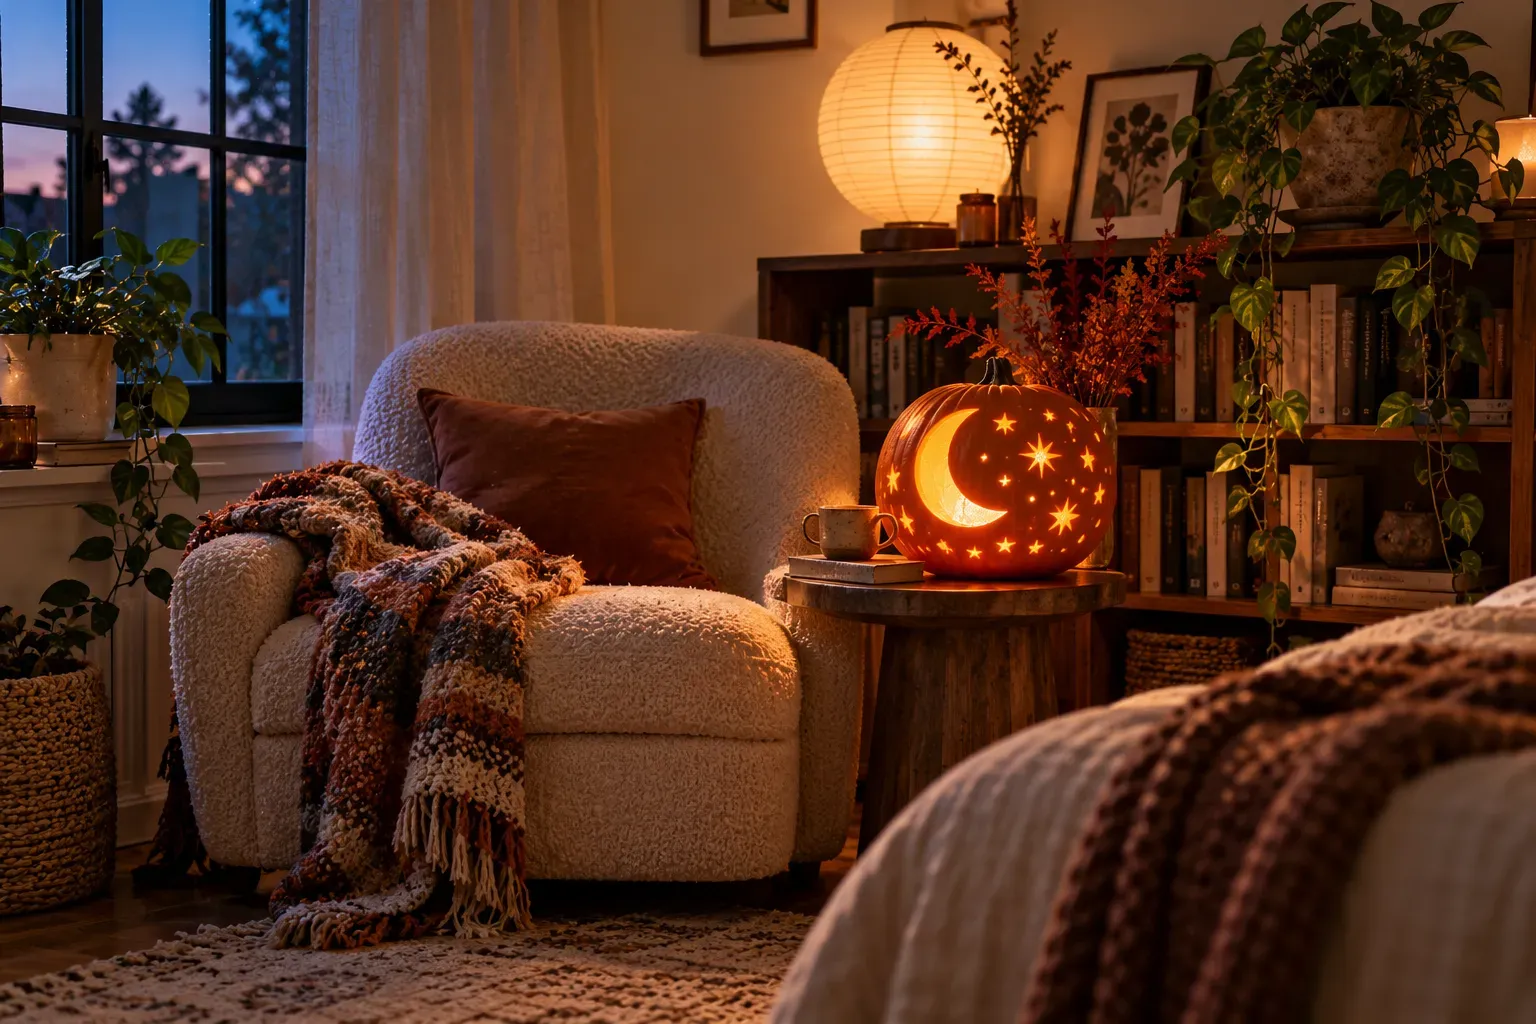
A crescent moon pumpkin surrounded by a few punched stars creates a quiet Halloween accent for a reading corner. Draw the crescent with a broad center so it remains easy to carve. Use a small drill or hand punch for stars, working slowly to avoid splitting the pumpkin wall.
Keep the lantern on a stable side table, away from bedding and books, and illuminate it with an LED puck. The moon becomes the focal point when the surrounding room is uncluttered. For a more subtle look, scrape the crescent instead of removing it entirely, allowing a warm amber glow to filter through.
5. Playful Cat Face Pumpkin
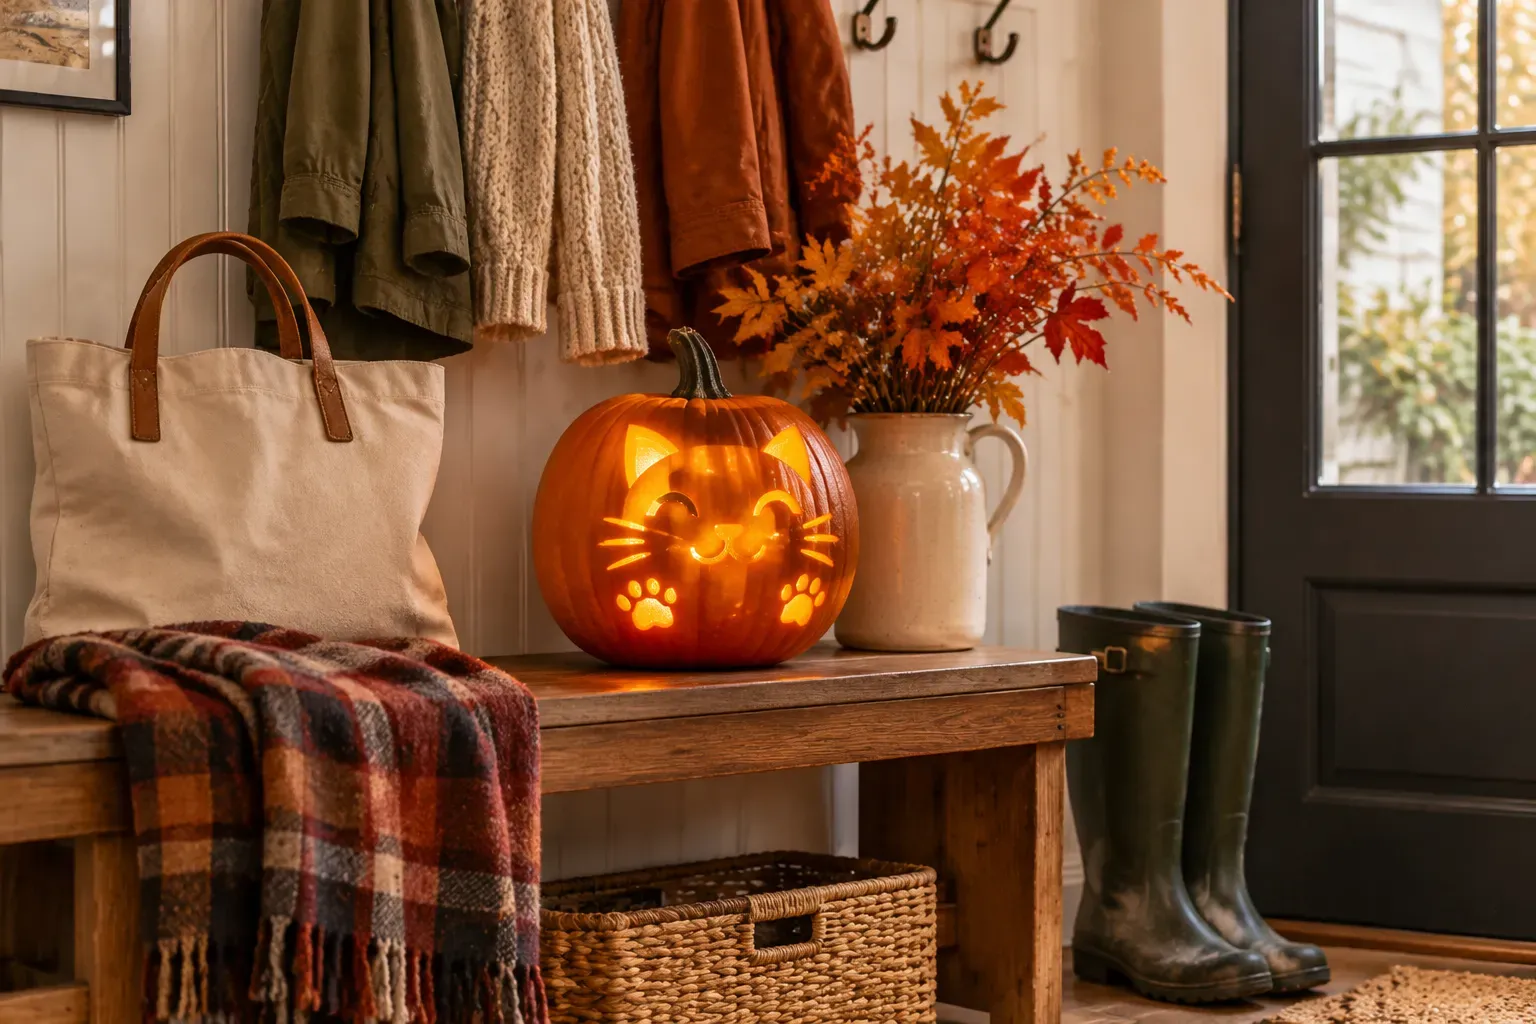
Create a cat face pumpkin using almond-shaped eyes, a small triangular nose, and three short whisker marks on each side. Large features read better from across the room than delicate lines. Cut the eyes first, then test the illumination before committing to the whiskers. A small ear silhouette can be drawn rather than carved.
A cat pumpkin carving looks charming near a mudroom bench or sheltered doorway. Keep the design playful with asymmetrical whiskers and a slightly tilted smile. If pets share the space, position the pumpkin beyond their reach and collect all seeds and scraps promptly. A reusable LED tea light makes daily switching easy.
6. Elegant Monogram Pumpkin
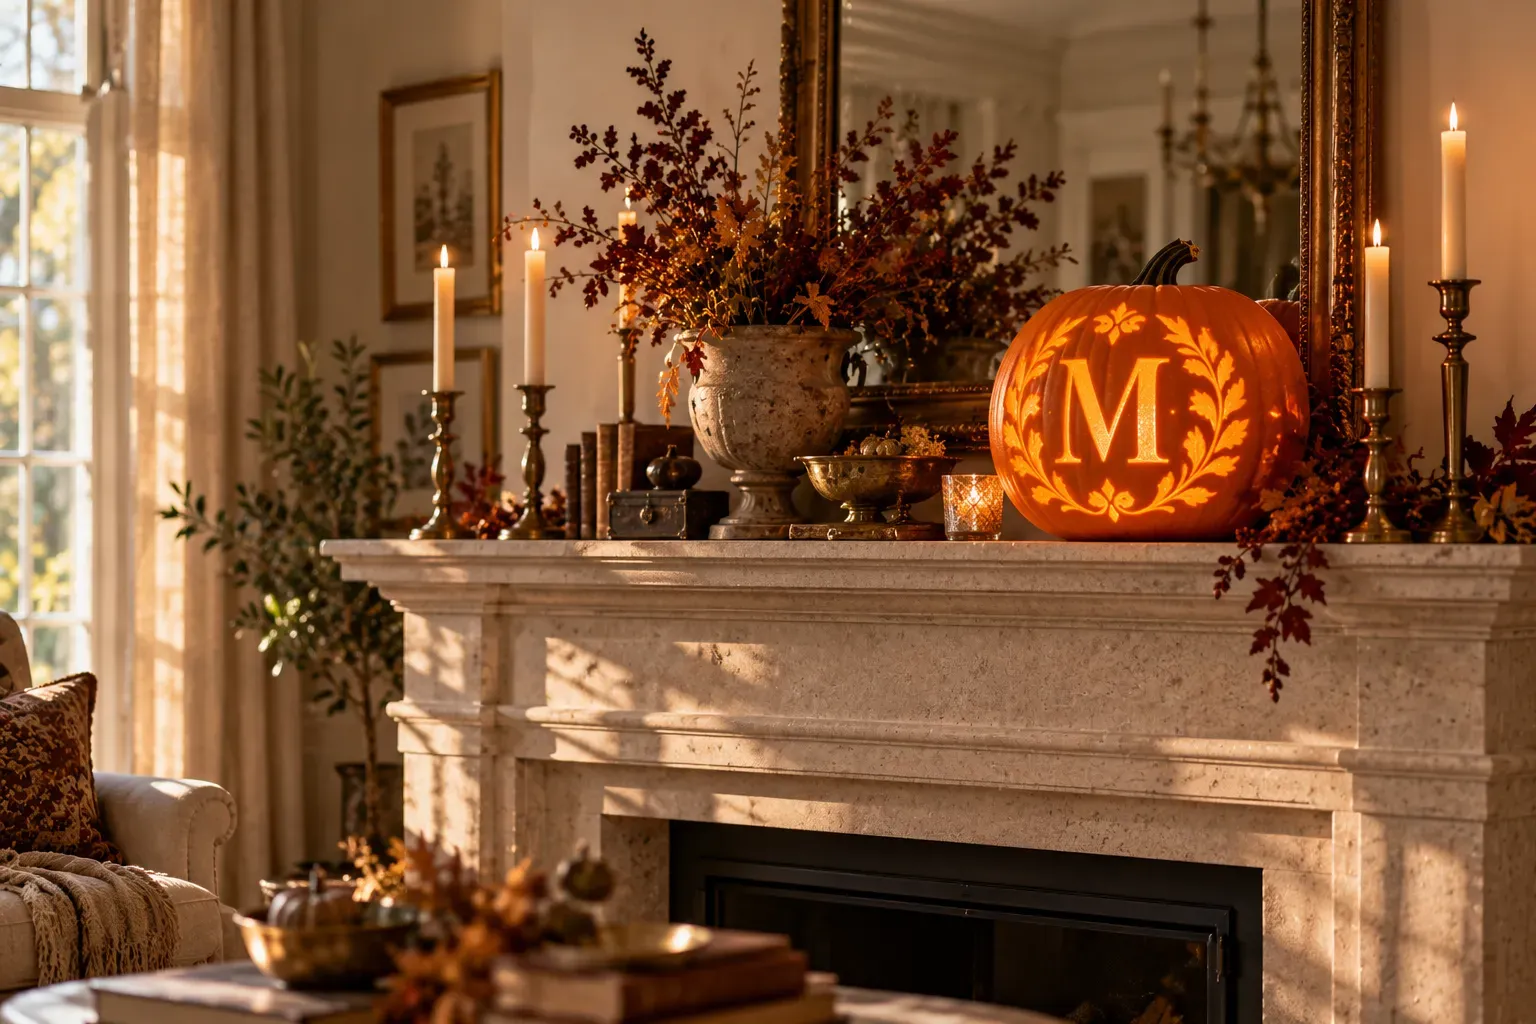
Carve a single oversized initial for a personalized pumpkin carving that works beyond Halloween night. Choose a simple block-letter stencil, not a delicate script, and leave sturdy connections inside letters with enclosed centers. Lightly scrape the background around the initial to give it depth without weakening the pumpkin.
Place the monogram pumpkin on a protective plate on a cool mantel or console, well clear of heat sources. Match its scale to nearby decor: a medium pumpkin usually balances a mirror and a few branches. For a family gathering, several smaller initials can mark a buffet, but avoid cluttering a narrow surface.
7. Friendly Ghost Silhouette
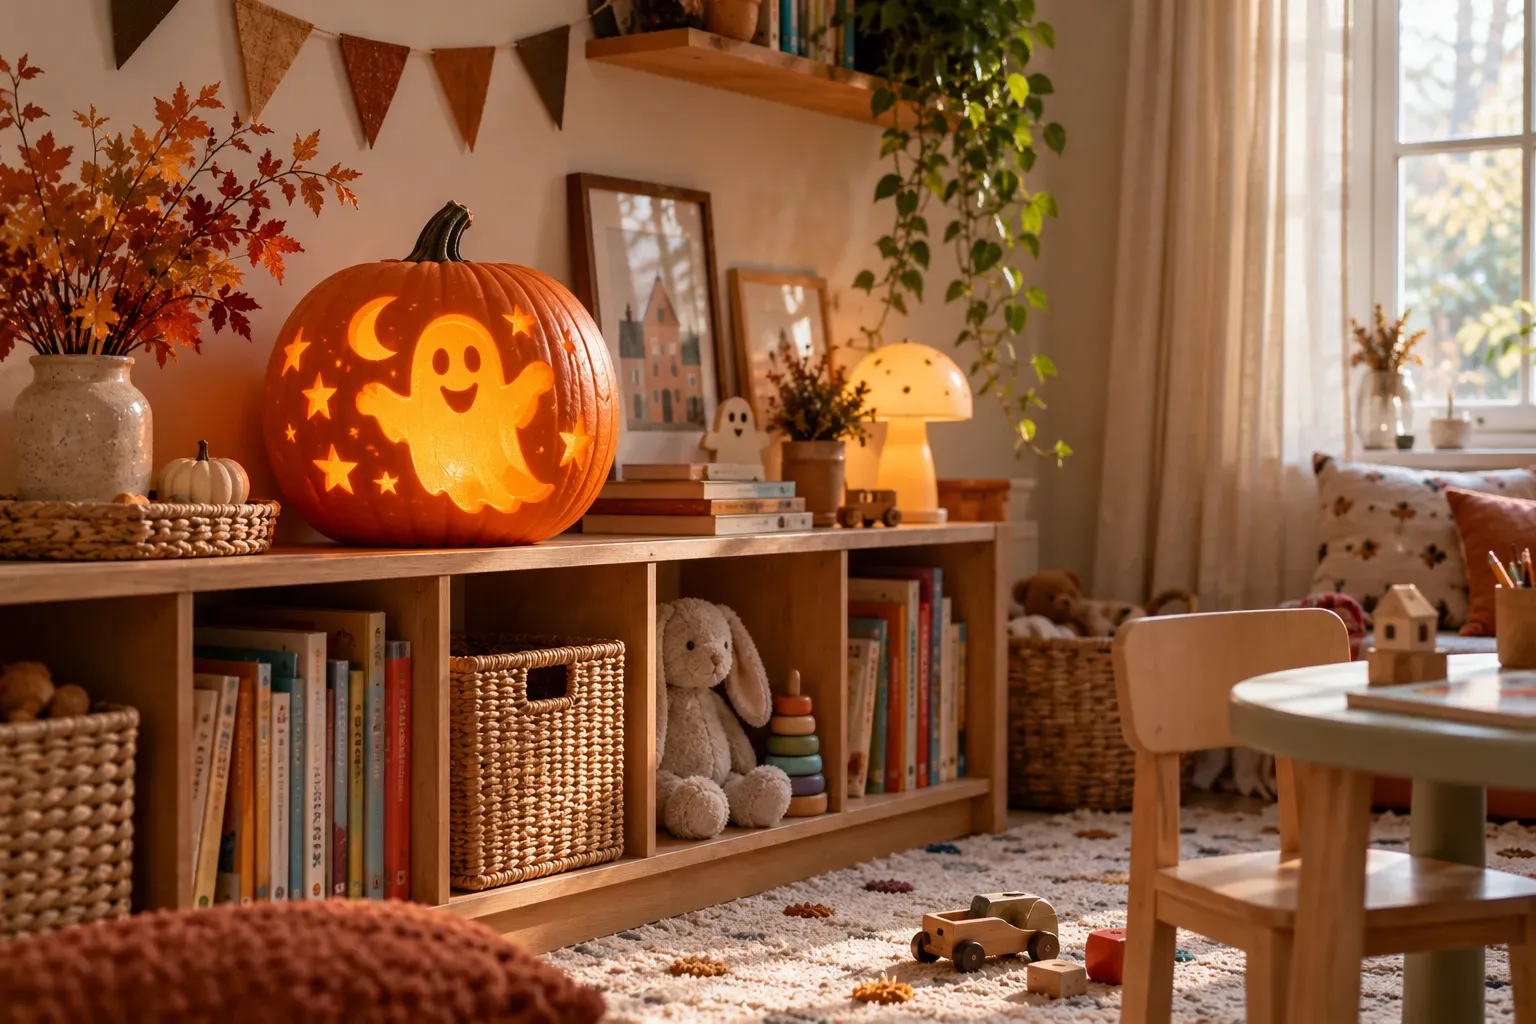
A rounded ghost pumpkin carving with two oval eyes offers a cheerful alternative to frightening Halloween faces. Draw a flowing outline with a wide base, and make the eyes large enough to show clearly when lit. Carve the outline as one broad opening or scrape the ghost shape for a more durable design.
Style this pumpkin on a high, secure shelf in a family playroom, out of children’s reach. Let younger children select the expression or decorate a paper template rather than use blades. Battery-powered lights eliminate candle concerns. Pair it with only a few familiar objects so the ghost remains the visual focus.
8. Minimal Polka-Dot Glow Pumpkin
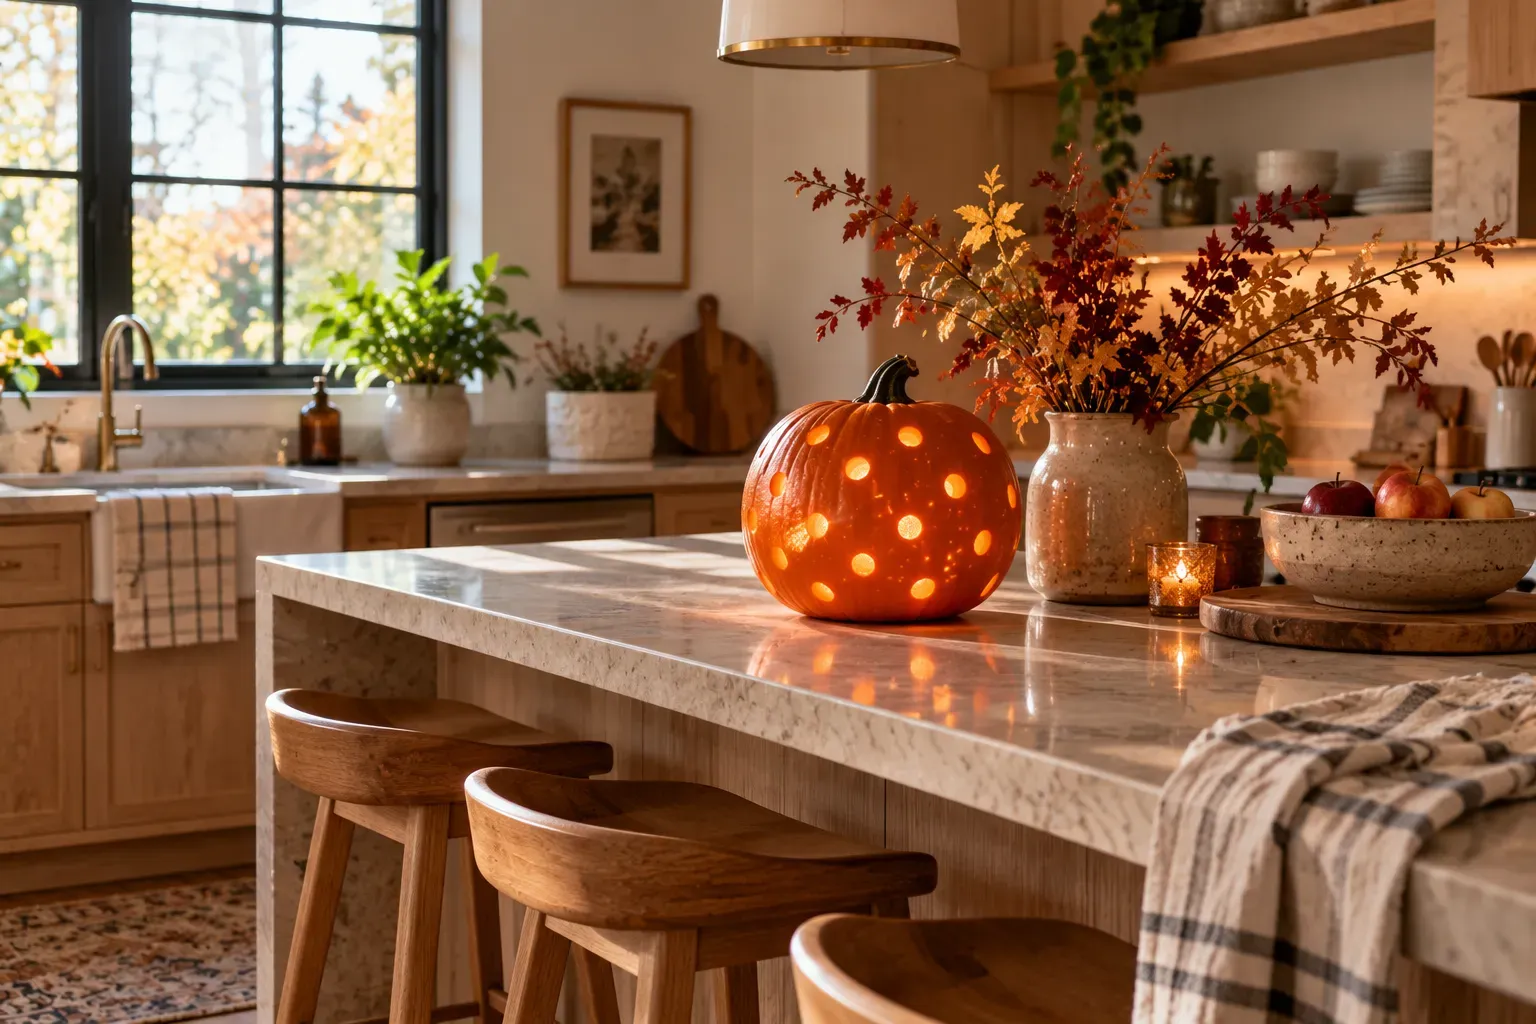
For a modern kitchen, skip a traditional face and make evenly spaced polka-dot pumpkin circular openings. A hand drill fitted with several bit sizes can produce a clean dotted pattern; adults should secure the pumpkin before drilling. Alternate large and small holes in loose vertical rows, rather than chasing perfect symmetry.
A drilled pumpkin design sits comfortably beside simple kitchen accessories without competing with them. Use a tray to catch moisture and keep it away from food-preparation areas. Check the design with an LED light before adding more holes; too many openings can make the shell fragile and the glow less defined.
9. Haunted House Window Scene
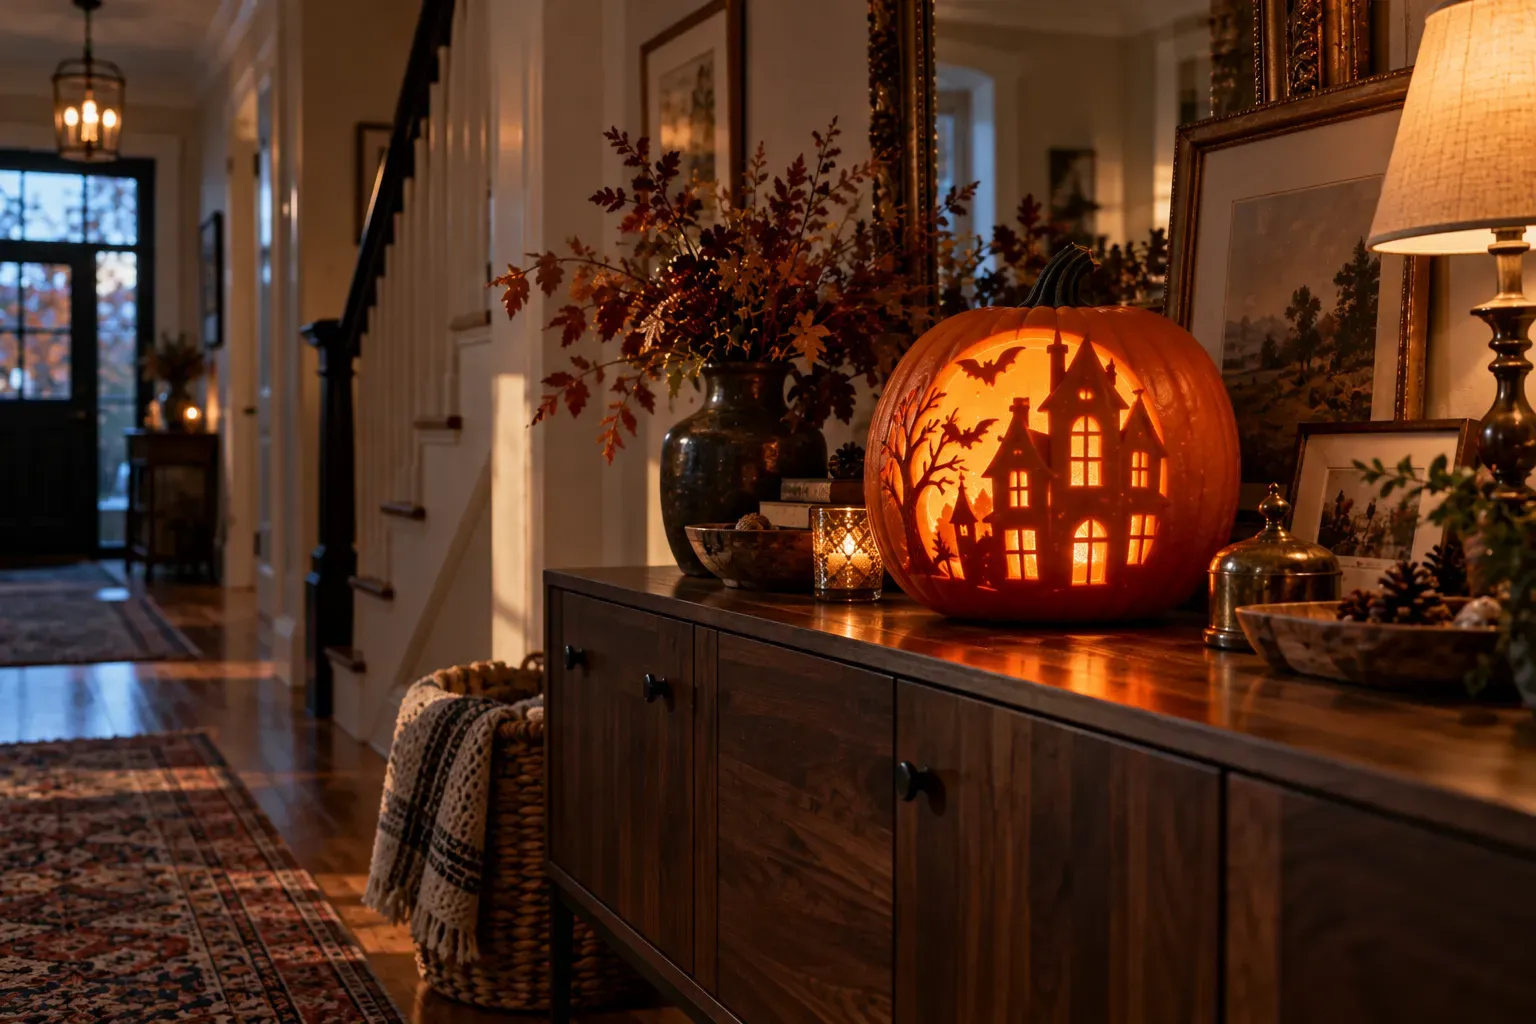
Carve a small haunted house pumpkin with a peaked roof, one doorway, and two bright windows. Simplify the outline before cutting: a few bold architectural shapes communicate the story better than tiny roof tiles. Use shallow scraping for the walls and full openings for windows to create contrast.
Place the pumpkin on a hallway sideboard where viewers can see the scene at eye level. A darker backdrop makes the illuminated windows stand out. Keep the chimney and roof connections broad, since narrow strips are the first to break. This design rewards patient planning more than advanced pumpkin carving skills.
10. Floral Lace-Inspired Pumpkin
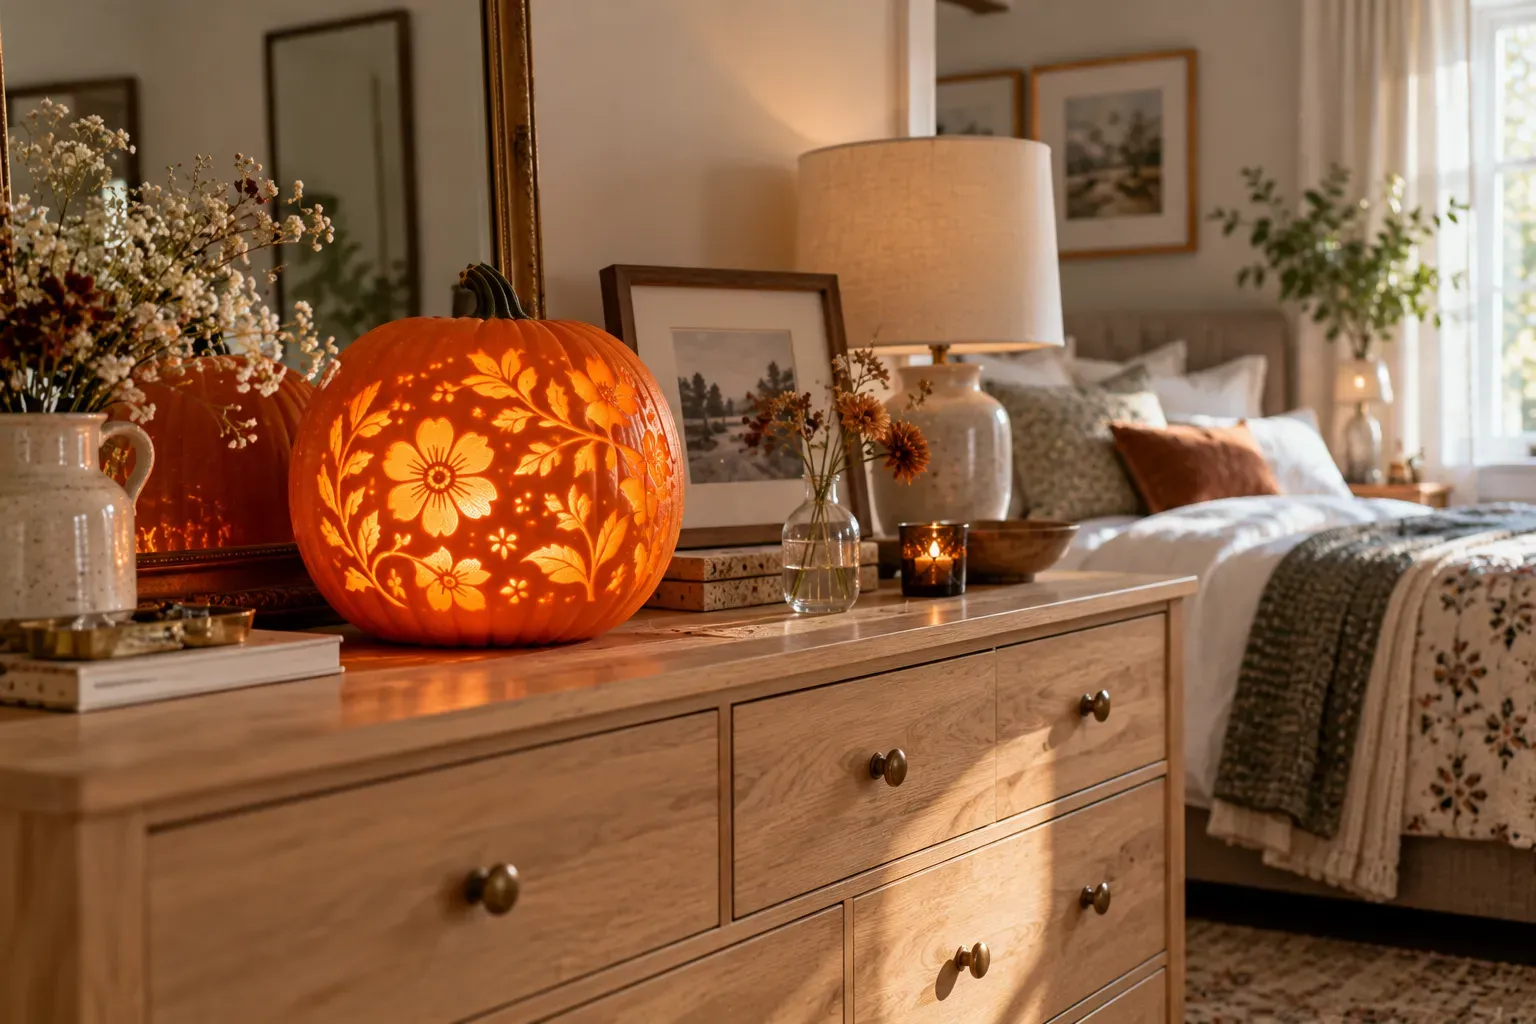
Use repeating petal-shaped cutouts to create a lace pumpkin carving without attempting intricate needlework. Start with six broad petals around a central circle and repeat the motif sparingly. Scrape the petals to different depths for a soft, layered effect. Test each section with a light as you work.
A floral pumpkin design complements a guest room dressed in linen, muted paint, and natural wood. Put it on a washable dish to protect the dresser from moisture. Avoid making the entire surface perforated; generous untouched areas help the flower shapes stand out. The result feels decorative in daylight as well as after dark.
11. Silly Monster Expression
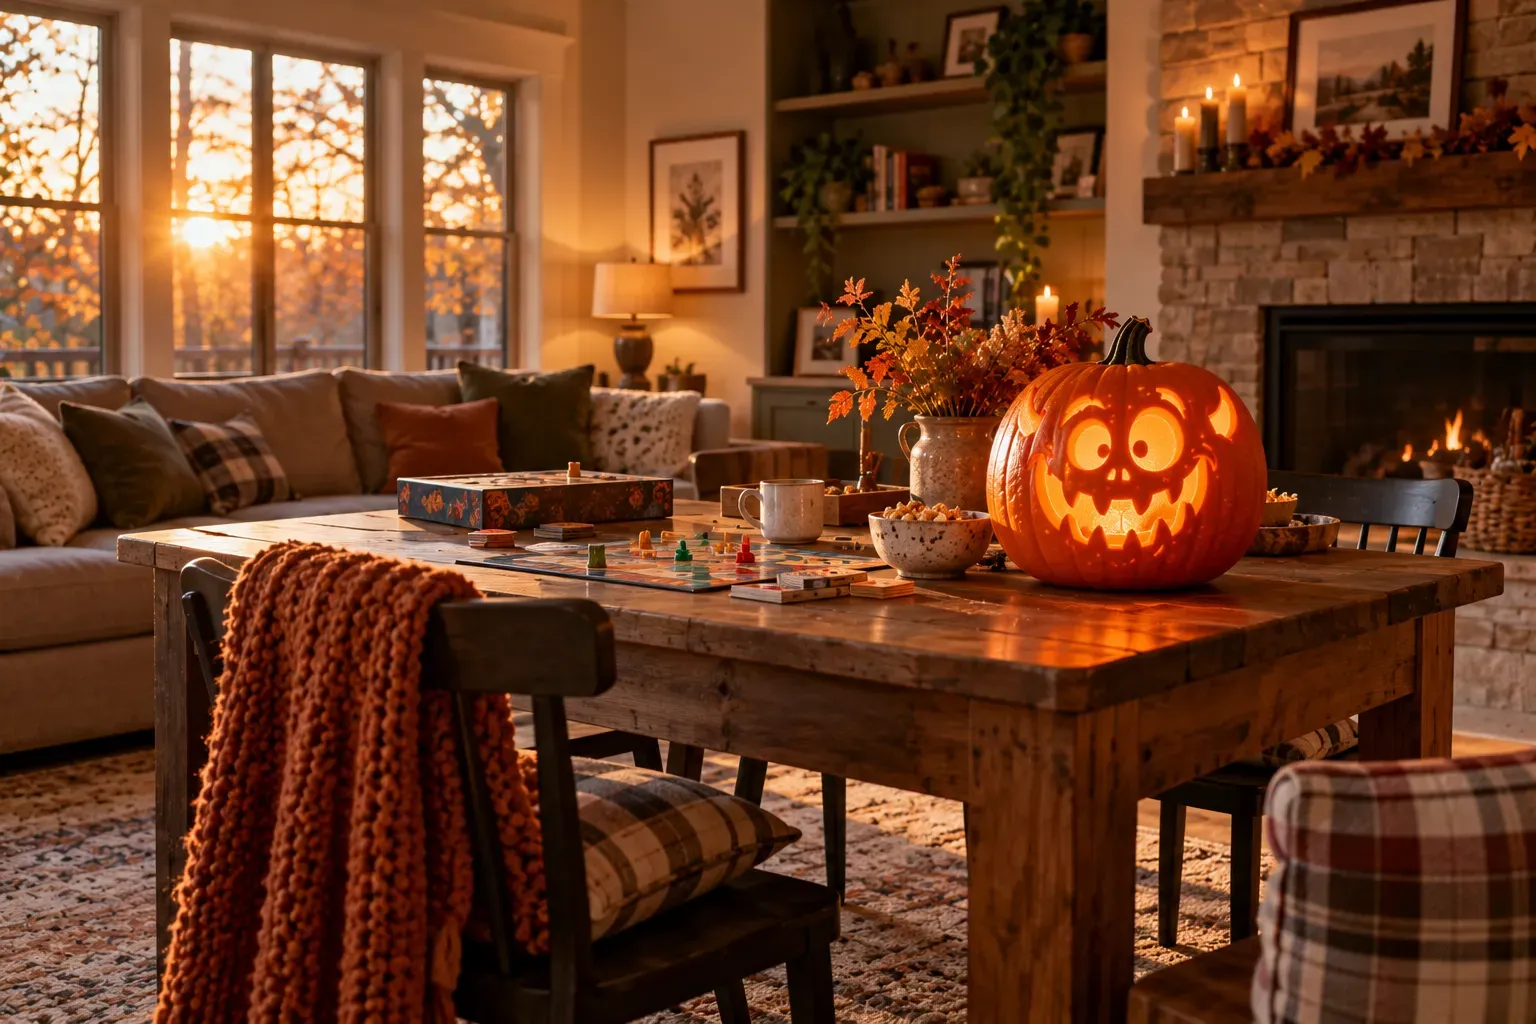
Give your pumpkin one enormous eye, crooked teeth, and a lopsided grin for a funny monster pumpkin carving that feels homemade in the best way. Exaggerate just two or three features rather than squeezing in everything. Mark the teeth with thick gaps so they stay attached after carving.
Set the monster beside a family game table for an easy conversation starter. Try sketching several expressions on paper before choosing one; this saves cutting mistakes. Different pumpkin shapes suggest different characters, so work with the natural bumps and tilt. Use LED lighting for safe, consistent illumination during a long evening.
12. Autumn Tree Branch Silhouette
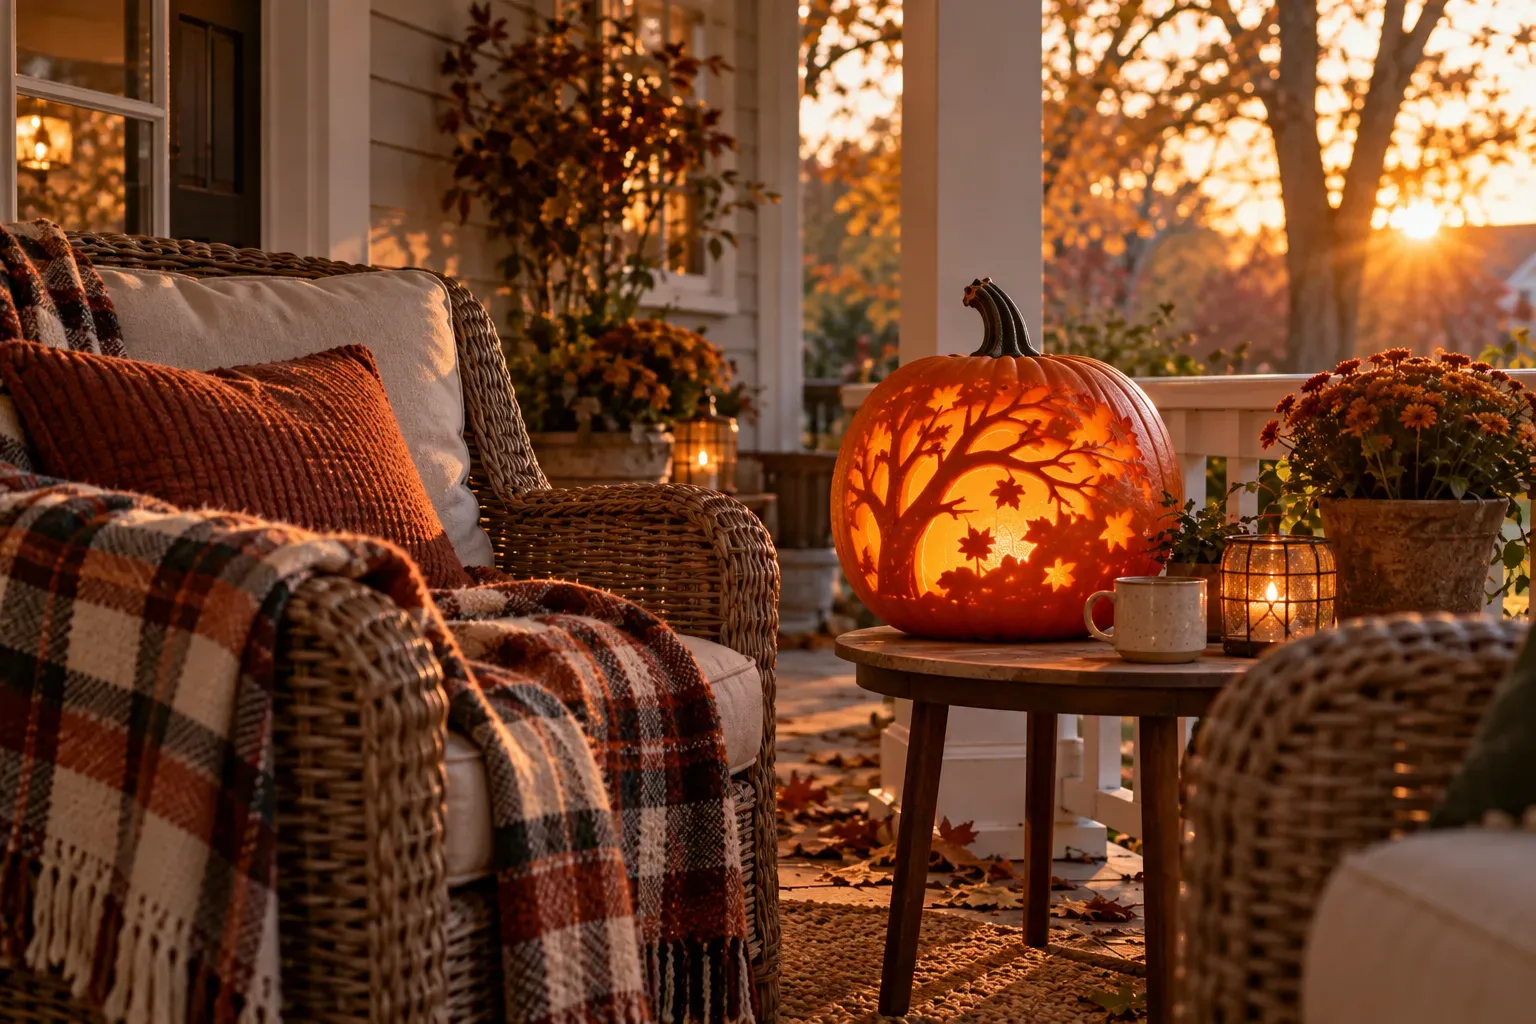
Carve a simple bare tree pumpkin silhouette with a sturdy trunk and three or four thick branches. The negative space around the tree creates the nighttime silhouette. Resist adding dozens of fine twigs, which are difficult to cut and easy to snap. A tall pumpkin provides enough vertical room for the composition.
Display the tree branch pumpkin on a sheltered porch table, protected from rain and direct afternoon heat. A few real fallen leaves nearby reinforce the autumn theme without requiring extra decorations. Set an LED candle behind the carved branches and rotate the pumpkin until the silhouette reads clearly from the walkway.
13. Spiderweb Corner Carving
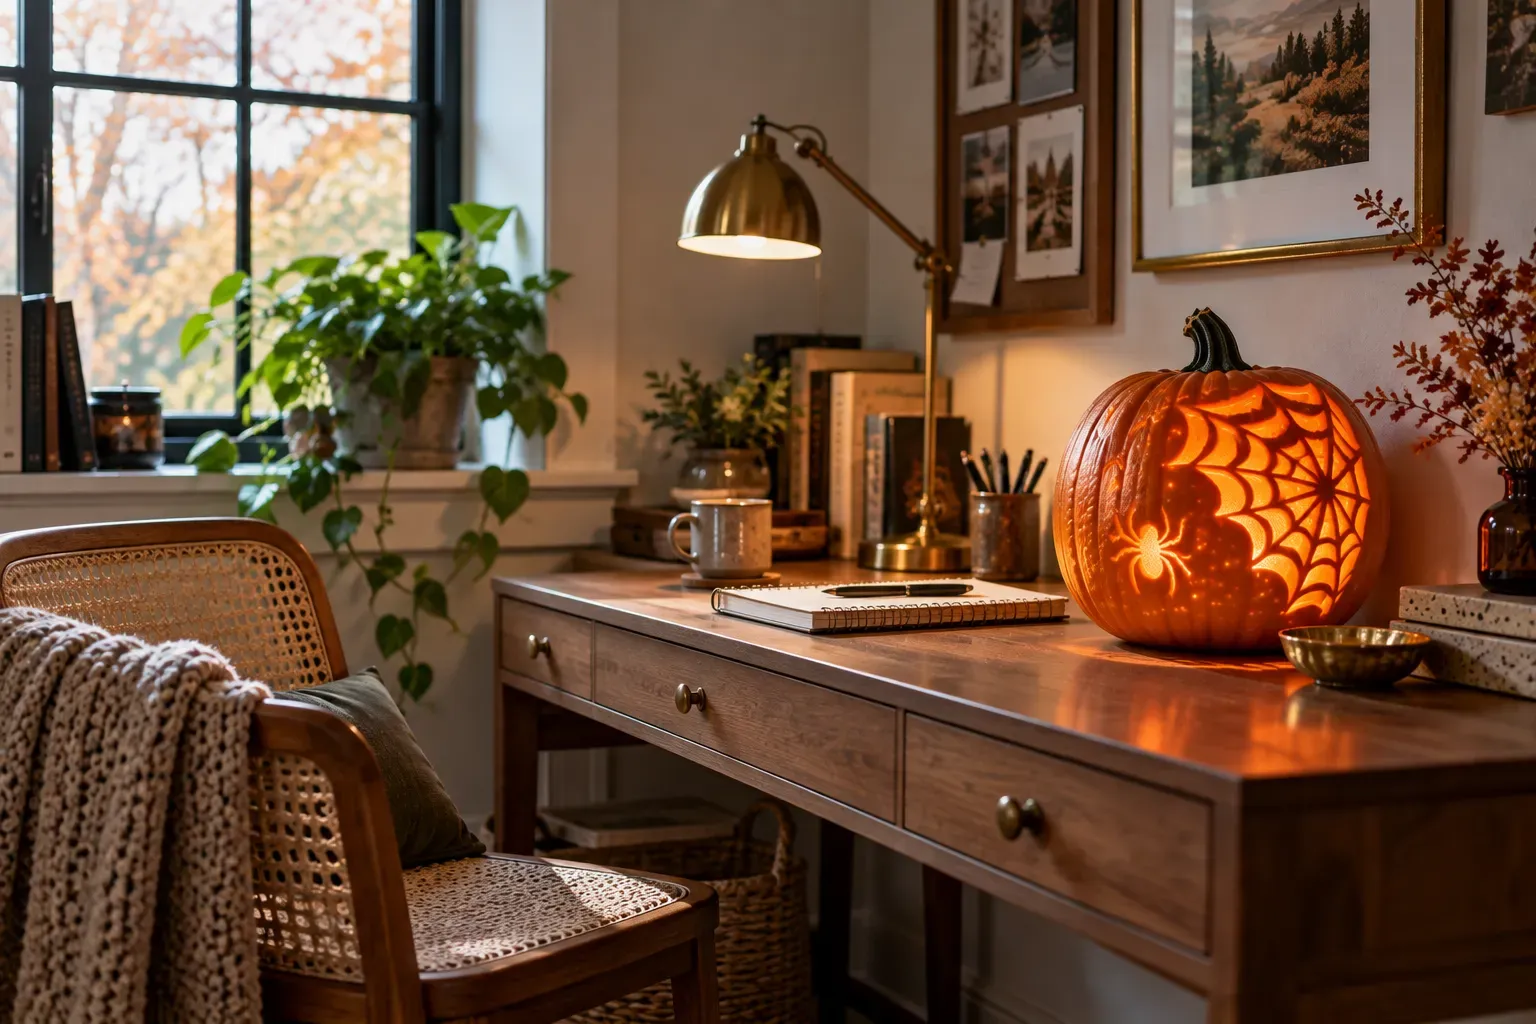
A partial spiderweb pumpkin carving carved into one corner looks more refined than a full pumpkin covered in thin lines. Draw three or four spokes first, then connect them with widely spaced curved bands. Use shallow carving for the threads and reserve a single cutout for a tiny spider shape if desired.
Position this design on a desk corner or shelf where the side detail is visible. Protect electronics and paperwork from moisture with a small tray. For easier carving, leave the spider as a painted accent rather than cutting fragile legs. The restrained pattern makes a subtle Halloween home decor detail in a working room.
14. Coordinated Mini Pumpkin Trio
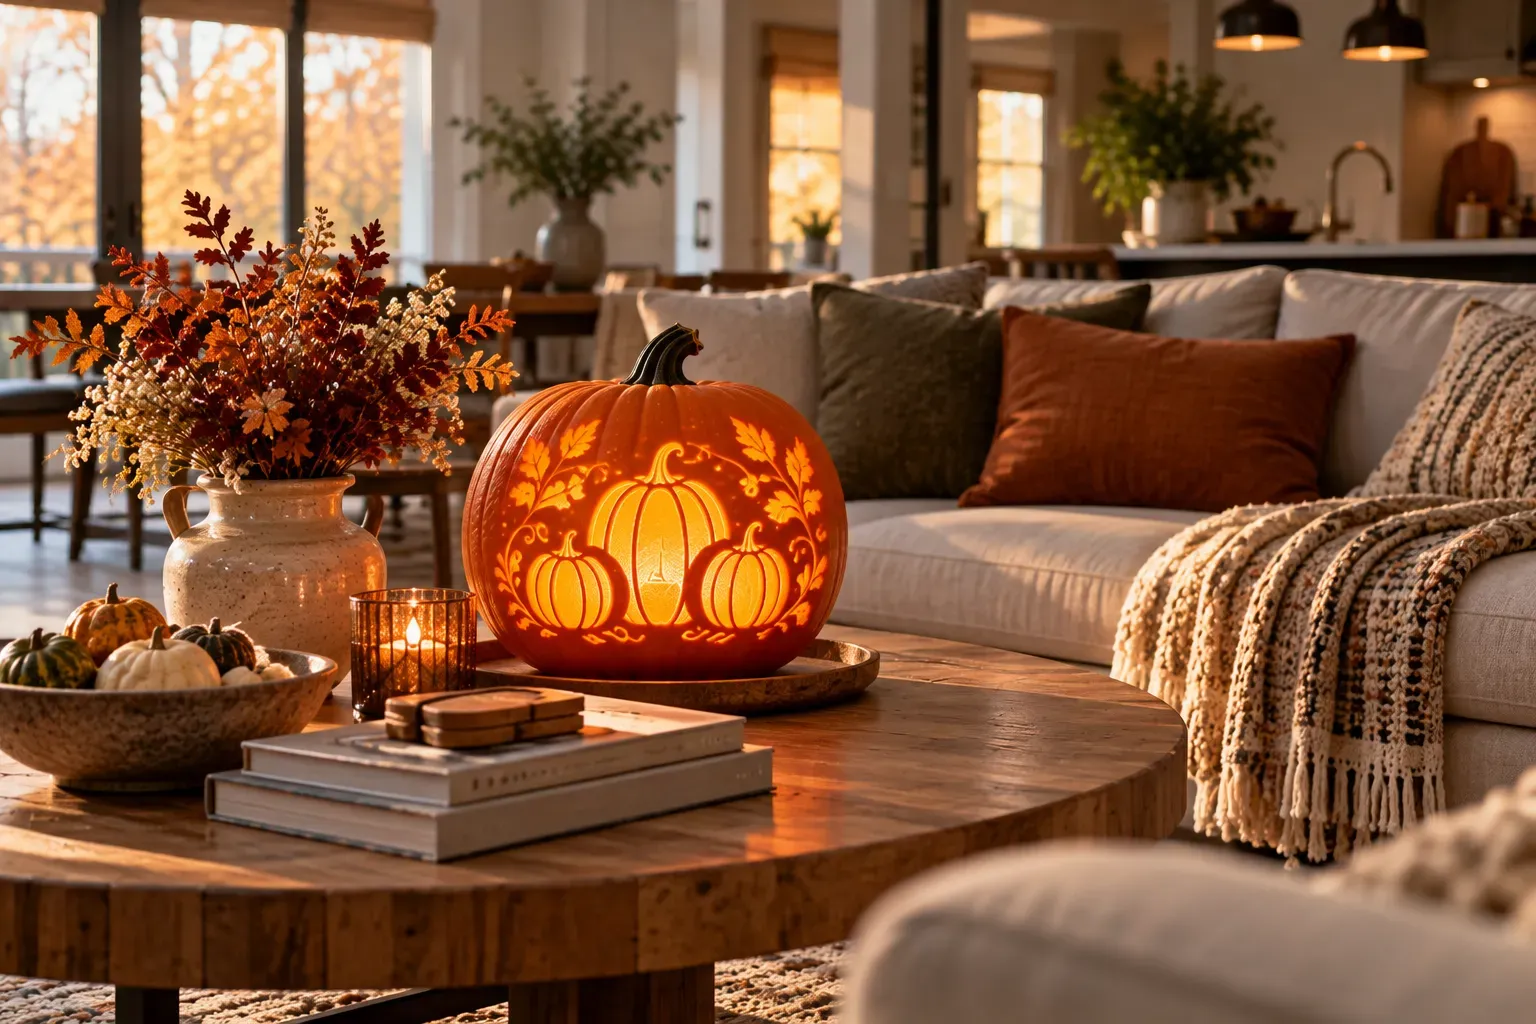
Carve three small pumpkins with related but different designs: a smile, a star, and a simple leaf. Repeating the same size and light color gives the pumpkin trio display cohesion, while the varied motifs add interest. Choose pumpkins with flat bases and make openings large enough for miniature LED lights.
Group the trio on a waterproof tray at the center of a coffee table, leaving space for everyday use. Vary their heights slightly with a stable low riser, not stacks that could topple. This is an inexpensive way to decorate a larger room without buying oversized pumpkins or covering every surface with seasonal Halloween accessories.
Practical Pumpkin Carving and Display Tips
For easy pumpkin carving ideas, choose a simple silhouette before trying fine details. Place a damp towel beneath the pumpkin to stop it slipping, use purpose-made pumpkin carving tools, and have an adult handle sharp blades and drills. Cut an access opening large enough to remove seeds comfortably. If you want to preserve the stem for the display, consider opening the bottom instead of the top.
How to Keep Carved Pumpkins Fresh Longer
Fresh pumpkins are perishable: clean up moisture, avoid heat and direct sun, and check daily for softness or mold. Keep carved pumpkins away from pets, children, fabric, and electrical equipment. A battery-powered LED is safer than a candle for indoor pumpkin decorating. For extra Halloween home decor ideas, borrow the same colors and textures from your existing furnishings rather than purchasing a new set of themed accessories.
Styling Pumpkins Throughout Your Home
If you are styling several rooms, pair natural motifs with your greenery bedroom decorating ideas, or consider how pumpkins complement the seating and finishes discussed in our American Signature Furniture guide. For additional visual inspiration, browse One Kindesign’s pumpkin carving ideas and adapt the motifs to your own space.
Conclusion
The best Halloween pumpkin carving ideas are not necessarily the most complicated. A bold cat face pumpkin can brighten a mudroom, a star-cut lantern can soften an apartment window, and a single botanical silhouette can look beautiful beside everyday furniture. Start with the room where the pumpkin will live, then choose a motif that suits the available space, viewing distance, and lighting.
Work patiently, leave strong connections between cutouts, and use LED illumination to make the finished carving safer to display. Whether you carve one large pumpkin or a coordinated pumpkin trio, a thoughtful arrangement will feel more inviting than an overcrowded collection. The goal is a seasonal home that still feels comfortably yours.
Frequently Asked Questions
What are the easiest pumpkin designs for beginners?
Large grinning faces, simple ghosts, and round polka-dot patterns are forgiving because they use broad openings and few delicate connections. These beginner pumpkin carving ideas are ideal for first-timers.
How can I make carved pumpkins last longer?
Start with firm pumpkins, remove loose pulp, keep them cool and sheltered, and check daily for spoilage. Their lifespan varies with temperature and humidity. Applying petroleum jelly to cut edges can also help slow drying.
What is the safest way to light a carved pumpkin indoors?
Use a battery-powered LED tea light or puck. Avoid open flames, particularly near curtains, books, pets, and children. Flameless candles are the safest option for indoor pumpkin displays.
Can pumpkin carving fit a modern minimalist home?
Yes. Choose one or two restrained motifs, such as a monogram pumpkin, leaf silhouette carving, or dotted pumpkin pattern, and display them with simple natural materials for an elegant, understated look.
